My logic worked something like this. “Well, I have to pull the head to send it in for a rebuild. I’ll have to remove the seat, tank, exhaust, head steady, coils, Boyer, and several other parts and assemblies. If I have that much apart I might as well just rebuild the whole engine. If I’m pulling the engine I might as well do the gearbox and swing arm work. The only parts left on the bike would be the front fork and the electrical system. I really have no option but to dismantle the entire bike and start from scratch. Powder coat the frame, build a new custom wiring harness, upgrade every fastener to stainless, Steve Maney crank and gearbox outrigger, Hepolite pistons, port and polish, fork and brake upgrades, swingarm needle bearing conversion, MKIII isolastics, 520 chain conversion, Dave Taylor head steady, etc…”
Here is the bike so far:
I have dismantled the entire machine, labeling every part.
The wheel hubs have been sent off to Colorado Norton Works for the full treatment. New sealed roller bearings and show polishing. Matt at CNW is acting as my agent for the wheel building through Buchanans. All new stainless spokes and show polished alloy rims, new Bridgestone tires, building, mounting and balancing by the pros at Buchanans.
CNW Wheel Hub Mods:
All info and photos taken from CNW web site:
The rear hub is machined down in the center and on the outside. The small fins are retained and that surface is bead blasted for an easily maintained finish. The outer lips are show polished. Included in the upgrade are 2 sealed single row bearings.
The front hub gets a similar treatment.
- Entire hub is show polished- Machined to accept sealed bearings- 1 sealed single row bearing- 1 sealed double row bearing
CNW is also doing the head repair. That nasty exhaust port problem will be better than new. CNW uses an aluminized brass insert to replace the old stripped threads. No welding involved. This means no chance of warping the head by overheating.
Oil tank conversions are another popular CNW mod. So I am having them do that as well.
Send us (CNW) your old oil tank and we will do a number of upgrades and modifications to improve on the original design. The original upper mounts fail and when the lower mount gets over loaded it will fracture the tank. If you are fortunate it will only create hairline cracks and the tank will just leak, if you aren't so fortunate the entire mounting boss and part of the oil tank will come off and the oil will pour out (on your rear wheel to make it all worse) and in a matter of seconds your oil tank will be completely empty. Your sweet old Commando engine is now running without oil and it won't do that for very long.This is what we do to your old tank:
- The oil tank gets completely boiled out to remove any sludge and build up. This also strips all paint off.- The lower tank mount gets cut off and a plate is brazed over the area to ensure any hairline cracks are covered up.- The rear mount is beefed up for added strength.- The spigot to the chain oiler (if equipped) is closed up- The oil tank gets a gloss black powder coated finish.- The finish is removed where needed to ensure proper sealing when installed.- Included are two rubber mounts that are far stronger than the original.- Stainless steel hardware to mount is included.- A high density foam pad to install between the battery cover and oil tank is included
I am planning to let CNW do all my gearbox work as well:
New inner mainshaft bearing installed
Transmission case bead blasted and pressure washed
Gear bushings replaced as required
Upgraded layshaft roller bearing installed
New mainshaft bearing and seal installed
New countershaft sprocket, specific to 520 "O" ring chain
Outer cover machined to accept MKIII kickstart shaft seal upgrade
New "quad" rings replace all "O" rings throughout
New shift linkage springs installed
New MKIII kickstarter arm assembly
Covers polished to "show" standard
All new stainless steel hardware
New inspection cover
My new parts list is growing. Today I purchased an NOS Smiths oil pressure and oil temperature gauge. It fits directly into a standard Norton gauge cup.
I still need to work out some of the details for the oil pressure line and the oil temperature assembly. The pressure side is simple. It will probably be tied into my proposed oil cooler feed lines. The temperature sender may be more difficult. The sensor unit may wind up inline with the oil feed lines if need be. It may not give me the precise numbers from inside the engine. But it will establish a baseline temperature.
I had already purchased a much cooler set of gauge holders prior to picking up this gauge. I found them on eBay. The guy sells a ton of them. Pretty tricky looking. The brackets came with spacers to make up for the thinner mount around the fork top. Unfortunately, the cables are about an inch too short when the gauge position changes. I need to check out some options for longer cables.
I also have two more top portions of these holders. This section could be mounted to the handlebar capture bolts with some home made brackets. It depends if the new gauge will mount to these brackets properly. Otherwise it will require a little more thought.
2-27-07
The exhaust port repair is complete and I got the head back from Colorado Norton Works today. It looks great. The original threads have been replaced with a much more substantial looking threaded insert. With the repair and the new exhaust locking rings I got I should never have to deal with stripped threads again.
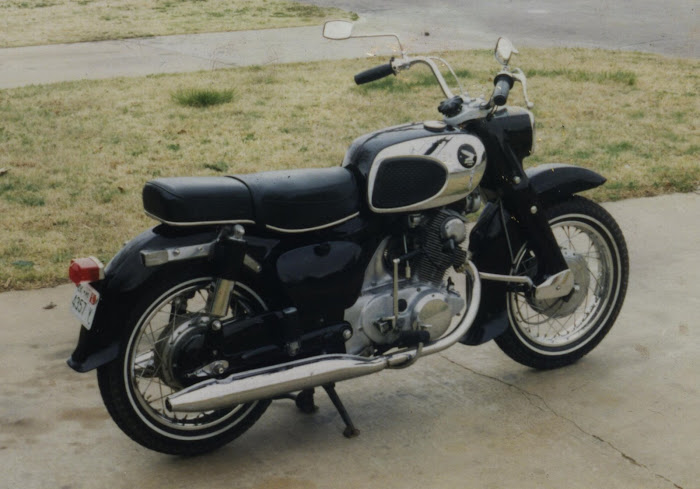
My 1966 CA77 Honda Dream 305

My 1975 Honda cb550f

Back side of Primary after polishing

Post exhaust thread port repair by CNW

My 1978 BMW R100/7

My Norton after the tear down

Kickstart and Gearshift O-Ring Mod

Rear Hub Machining by CNW

Dunstall 2 into 1 into 2 Exhaust

Smiths Oil Pressure and Temp Gauge

Instrument Brackets

Post Polish Primary

My Wife on my Norton!
No comments:
Post a Comment